
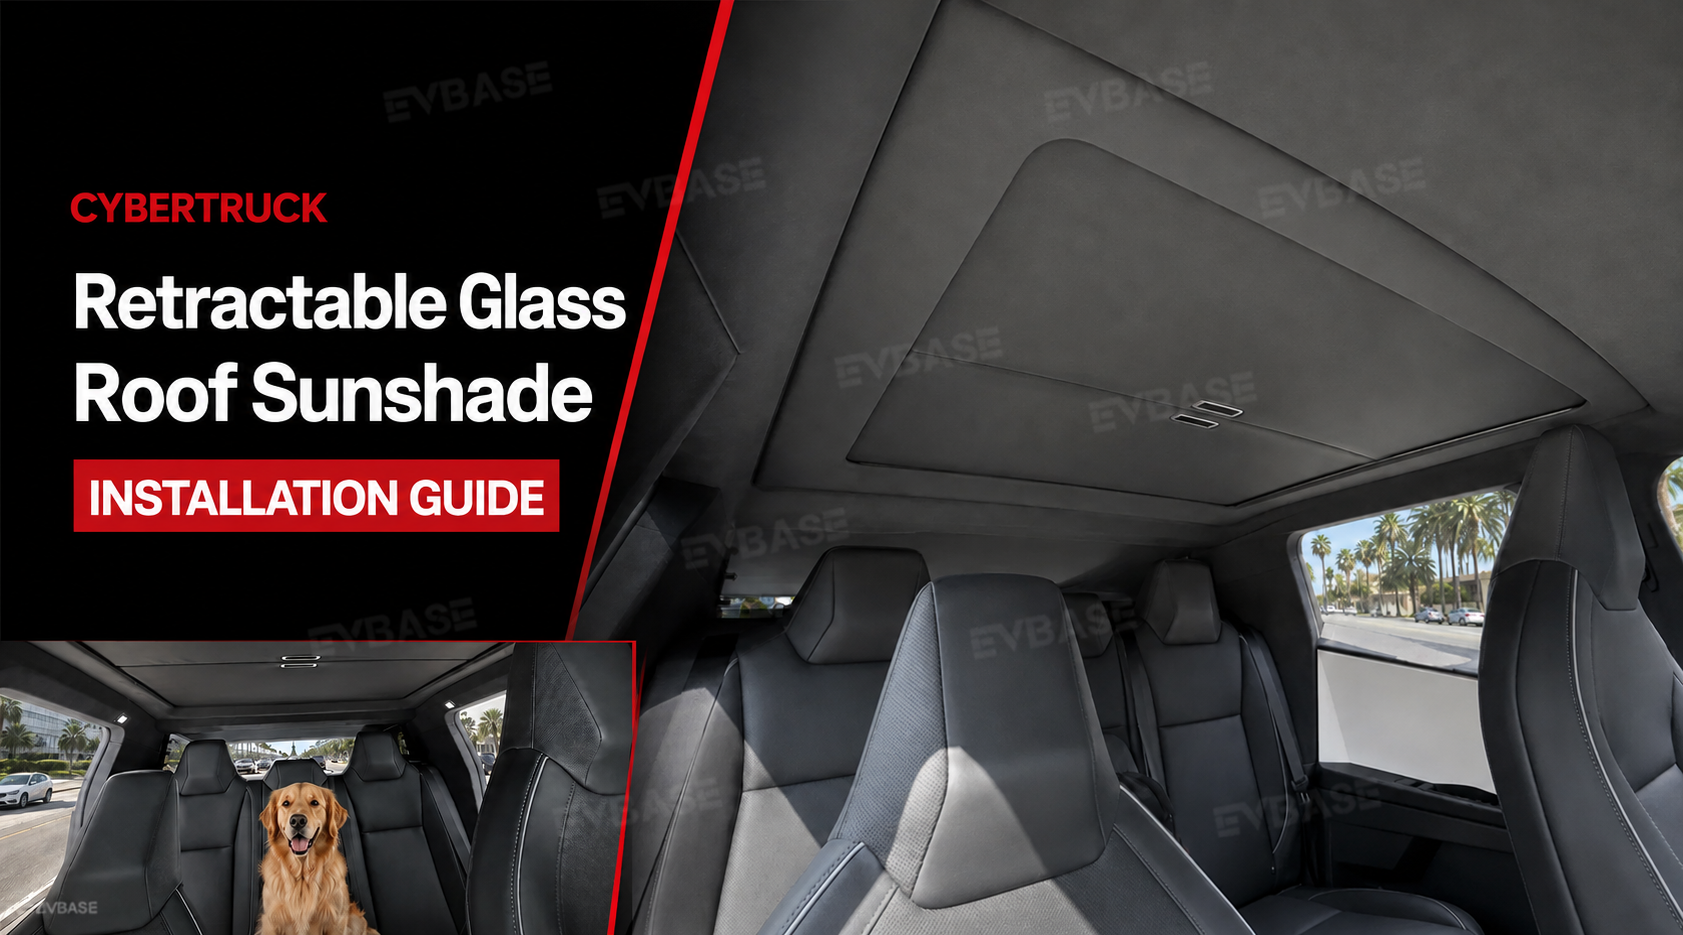
The Cybertruck's large panoramic glass roof creates an open cabin experience, but direct sunlight can also increase glare and heat during warm weather. The EVBASE Retractable Roof Sunshade is designed specifically for the 2024+ Tesla Cybertruck, providing adjustable overhead coverage while preserving access to the glass roof.
This guide follows the included installation manual and explains how to assemble, position, and secure the front and rear sunshade sections without drilling or making permanent changes to the vehicle.
👉 Product link: Cybertruck Glass Roof Retractable Sunshade
👉 Installation Manual: Click Here
Before Installation
Park the Cybertruck on a level surface, shift into Park, and open the rear doors. Make sure the roof glass and surrounding headliner trim are clean and free from loose objects.
Move both front seats fully forward before loading the assembled sunshade into the cabin. This creates more space and reduces the chance of the frame contacting the seats or interior trim.
Because the assembled sunshade is large, having a second person assist with lifting and positioning can make installation easier.
Place all components on a clean surface and confirm that the package includes:
- Rear Sunshade × 1
- Front Sunshade × 1
- Hardware Kit × 1
The hardware kit contains the screws and tools required to connect the two sunshade sections. Check that the frame, fabric, mounting pins, and release straps are undamaged before beginning.
Installation Steps
Step 1: Connect the Front and Rear Sunshade Sections
Place the front and rear sunshade sections on a clean, flat surface with the center connection points facing each other.
Align the two sections carefully, then slide or press the connecting ends together until the frame sections meet evenly. Check that the frame remains straight and that the fabric is not folded, pinched, or caught inside the connection.
Do not force the sections together if they do not align. Separate them, check their orientation, and try again.
Step 2: Secure the Center Connection
Locate the screw holes around the center connecting plates. Insert the supplied screws into the marked mounting points and tighten them using the included tool.
Tighten each screw gradually to keep the two frame sections aligned. Do not overtighten, as excessive force may damage the threads or cause the frame to sit unevenly.
After tightening, gently move the connected sections by hand. The center joint should feel firm, with no visible gap or excessive movement.
Step 3: Load the Sunshade Through the Rear Door
Move both front seats all the way forward before placing the sunshade inside the vehicle.
Orient the assembled sunshade so the front section faces the windshield and the rear section faces the back of the cabin. Carefully carry it through one of the rear doors.
Rotate the frame slowly as needed to clear the door opening, seatbacks, and interior trim. Avoid dragging the frame across the seats or pressing it against the roof glass.
Once inside, raise the sunshade toward the panoramic glass roof and keep it supported until the mounting pins are secured.
Step 4: Install the Rear Mounting Pins
Position the rear section of the sunshade near the rear edge of the glass roof.
Locate the mounting pins on both sides of the rear frame. Insert each pin into the gap between the rear headliner trim panel and the roof glass, following the position shown in the installation manual.
Make sure both rear pins enter the trim gap evenly. The frame should sit close to the roof without twisting or placing excessive pressure on one side.
Do not push the pins directly against the glass or force them into an incorrect opening.
Step 5: Secure the Remaining Mounting Pins
While supporting the sunshade, locate the pin release straps on the frame. Pull and hold the release strap to retract the corresponding mounting pin.
Lift the sunshade into its final position and align the pin with the gap between the headliner trim and the glass. Release the strap slowly so the pin extends into the trim gap.
Repeat this process for the opposite side. Confirm that all mounting pins are properly seated and that the sunshade frame follows the shape of the glass roof evenly.
Keep one hand under the frame until both sides are securely engaged.
Step 6: Check the Completed Installation
Gently press upward and downward at several points along the frame to confirm that the sunshade is secure.
Check that:
- All mounting pins are seated inside the headliner trim gaps.
- The center screws remain tight.
- The frame sits evenly against the roof area.
- The fabric is smooth and free from folds or trapped edges.
- The sunshade does not contact or place pressure on the roof glass.
- The retractable sections open and close without binding.
Installation is complete once the frame is stable and both fabric sections move normally.
How to Use the Retractable Sunshade
Use the built-in handles to adjust the amount of roof coverage. Depending on the sunlight and cabin temperature, the fabric can be positioned fully open, partially extended, or fully closed.
Move the sunshade slowly and evenly. Avoid pulling one side sharply or applying downward force to the fabric.
Before driving, make sure the sunshade is left in a stable position and that the fabric and handles are properly secured.
Final Installation Check
Before using the vehicle, inspect the complete installation one more time:
- The front and rear sections are connected securely.
- All center screws are properly tightened.
- Every mounting pin is fully engaged.
- The frame does not sag, shift, or rattle.
- The fabric retracts smoothly along the frame.
- No part of the sunshade interferes with the seats, doors, mirrors, or driver visibility.
If the frame appears uneven, do not continue pulling the fabric. Check the mounting pins and center connection first, then reposition the sunshade as needed.
Installation Tips
Ask Someone to Help
The full roof frame is large after assembly. A second person can support the opposite side while the sunshade is loaded into the vehicle and attached to the roof trim.
Protect the Interior
Keep the frame away from the roof glass, seat upholstery, door panels, and headliner while moving it into position. Covering the seatbacks with a clean towel can provide additional protection during installation.
Check the Orientation First
Before loading the sunshade, confirm which section faces the windshield and which section faces the rear of the vehicle. Correct orientation makes it easier to align the mounting pins with the intended trim gaps.
Do Not Force the Pins
The mounting pins should slide into the gap between the headliner trim and roof glass. If a pin does not align, retract it using the release strap and adjust the frame position before trying again.
Test the Sunshade Before Driving
Open and close both retractable sections several times after installation. If the fabric pulls unevenly, check that the frame is straight and that every mounting point is properly seated.
Conclusion
The EVBASE Cybertruck Retractable Roof Sunshade installs in six main steps: connect the front and rear sections, secure the center screws, load the assembled frame through the rear door, insert the rear mounting pins, secure the remaining pins, and inspect the completed installation.
Once installed correctly, the sunshade provides adjustable glass-roof coverage without drilling or permanently modifying the Cybertruck. It can help reduce direct sunlight, glare, cabin heat, and UV exposure while allowing you to reopen the panoramic roof whenever more natural light is preferred.
FAQ
Q1: Which vehicle does this roof sunshade fit?
A1: It is custom-designed for the 2024+ Tesla Cybertruck. It is shaped to match the Cybertruck’s panoramic glass roof and interior roof trim.
Q2: Does installation require drilling or removing the headliner?
A2: No. The sunshade uses its built-in mounting pins and the existing gaps between the headliner trim and roof glass. No drilling or permanent vehicle modification is required.
Q3: Can the sunshade be partially closed?
A3: Yes. The retractable design allows you to leave the roof fully open, partially covered, or fully covered depending on the amount of sunlight entering the cabin.
Q4: Why won’t one of the mounting pins enter the trim gap?
A4: Do not force the pin. Pull the release strap to retract it, slightly reposition the frame, and confirm that the pin is aligned with the gap between the headliner trim and the roof glass before releasing it.
Q5: What should I do if the fabric does not retract evenly?
A5: Check that the front and rear frame sections are connected straight and that all mounting pins are seated evenly. An uneven or twisted frame can prevent the fabric from moving smoothly.
Q6: Can one person install the sunshade?
A6: One person may be able to complete the installation, but two people are recommended. The assembled frame is large, and having someone support the opposite side makes it easier to load and position without contacting the glass or interior trim.
Q7: Will the sunshade damage the original glass roof?
A7: When installed according to the guide, the sunshade does not require drilling or direct attachment to the glass. Always align the mounting pins with the intended trim gaps and avoid forcing the frame or hardware against the roof glass.
Q8: Should I check the mounting points again after installation?
A8: Yes. After the first few drives, inspect the center screws and mounting pins to confirm that the frame remains secure. Check the installation again whenever the sunshade has been removed and reinstalled.
Share: